CRUD and Authentication with Firebase
In this post, I will introduce the CRUD operations and authentication in firebase. For serverless applications, firebase is a ideal platform.
CRUD in Firebase
Whether it is a nosql database or not, a so-called database should
support the CRUD operations. CRUD means create, read, update,
delete. In my opinion, collection ≈ table, document ≈ row or
record.
- Create an developer account on firebase developer console
-
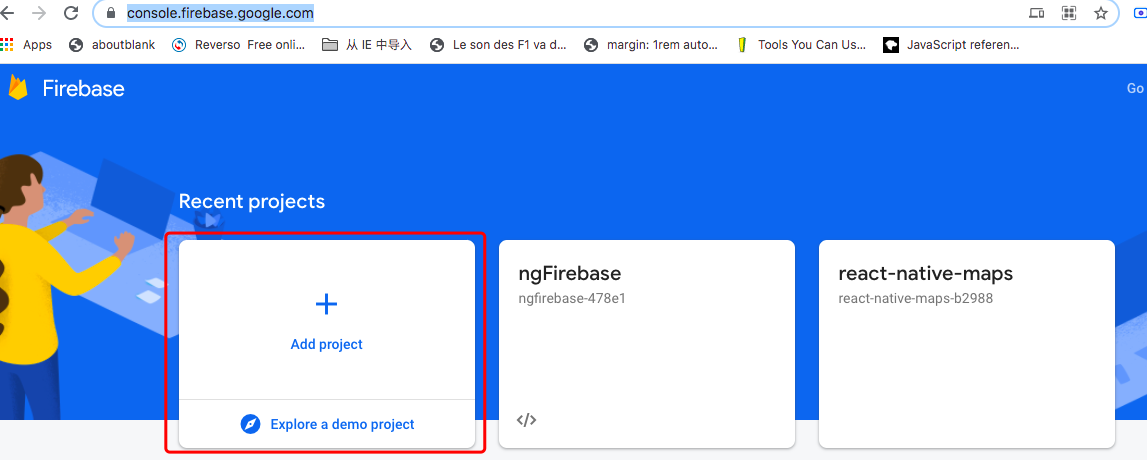
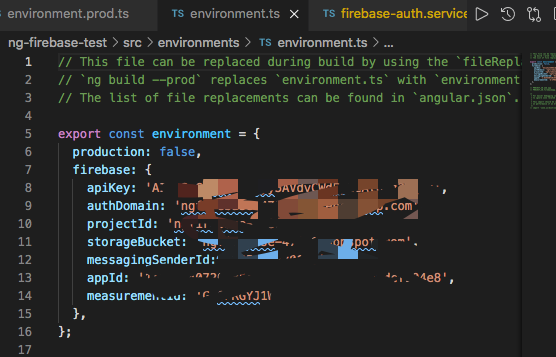
Add a project on this website. Copy the config object including
apiKey. Add it to environment.js and environment.prod.js located
in /src/environments/ .
-
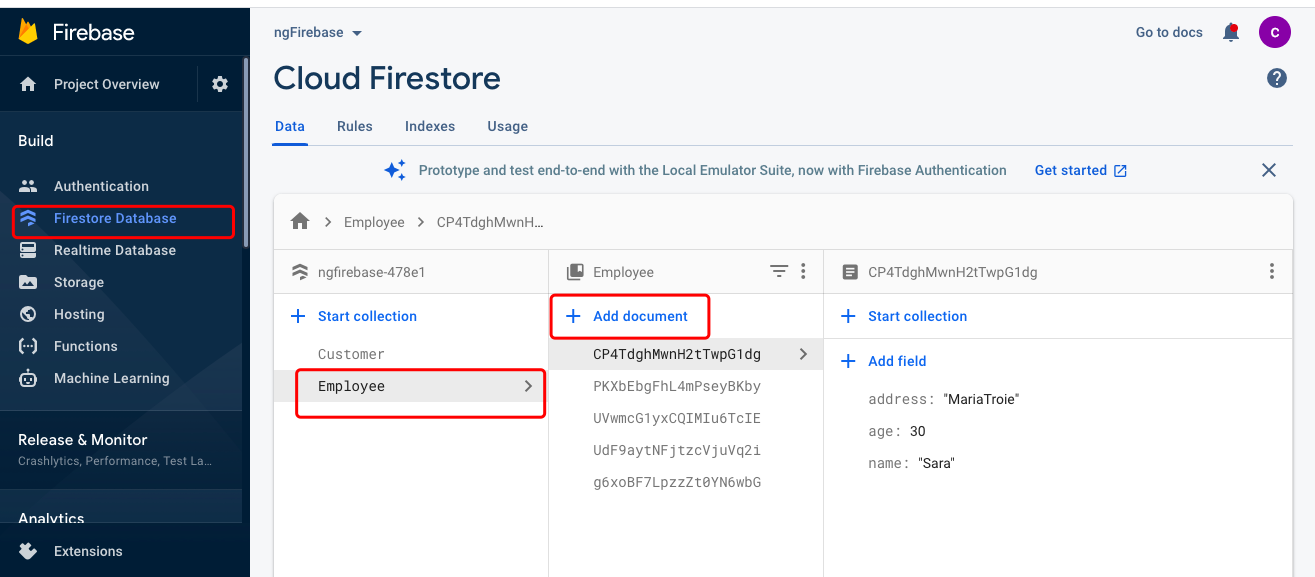
Create a firestore database. Create collections and add
documents to collections.
-
install necessary packages in angular project.
npm i @angular/fire firebase --save
-
configure Firebase in app.module.ts
// app.module.ts import { AngularFireModule } from '@angular/fire'; import { AngularFireDatabaseModule } from '@angular/fire/database'; import { AngularFirestoreModule } from '@angular/fire/firestore'; import { AngularFireAuthModule } from '@angular/fire/auth'; import { environment } from '../environments/environment'; ... @NgModule({ declarations: [ ... ], imports: [... AngularFireModule.initializeApp(environment.firebase), AngularFireDatabaseModule, AngularFirestoreModule, AngularFireAuthModule, ...] } export class AppModule {...} -
Create a firebase service in angular.
// employ.ts

export default interface Employee {
  name: string;
  age: number;
  address: string;
  id?: string;
}
// firebase.service.ts import { Injectable } from '@angular/core'; import { AngularFirestore } from '@angular/fire/firestore'; import Employee from './employ'; import { map, first } from 'rxjs/operators'; @Injectable({ providedIn: 'root', }) export class FirebaseService { constructor(public fireservices: AngularFirestore) {} create_Newemployee(record: Employee) { return this.fireservices.collection('Employee').add(record); } // collection name : Employee // get an employee id: snap.payload.doc.id get_Allemployee() { return this.fireservices .collection('Employee') .snapshotChanges() .pipe( map((snaps) => snaps.map((snap) => { return { id: snap.payload.doc.id, ...(snap.payload.doc.data() as {}), }; }) ), first() ); } get_employee(recordId:string) { return this.fireservices.doc('Employee/' + recordId); } update_employee(recordId: any, record: Employee) { this.fireservices.doc('Employee/' + recordId).update(record); } delete_employee(record_id: any) { this.fireservices.doc('Employee/' + record_id).delete(); } }
Authentication in Firebase
Firebase supports almost all the popular sign-in methods,
including email-password , google, twitter, etc. It follows the
same logic when using the third-party authentication.
-
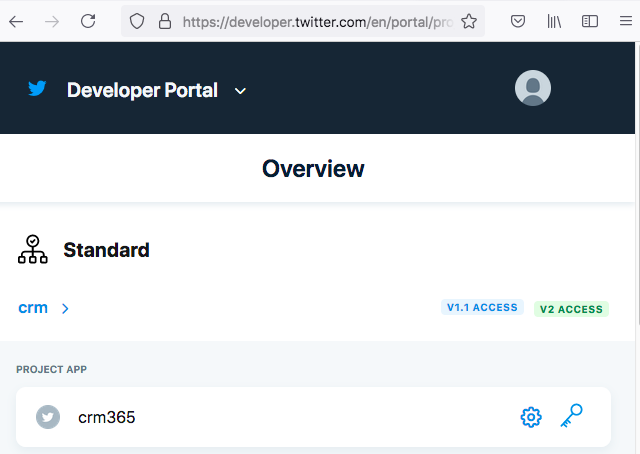
For using a third-party authentication in firebase, we should
have already a developer account in the third-party platform and
project keys. I take twitter as an example. On
Twitter Developer Console, we get apiKey, api secrete key,
bearer tokens, etc.
-
Enable twitter authentication in
sign-in methodtab.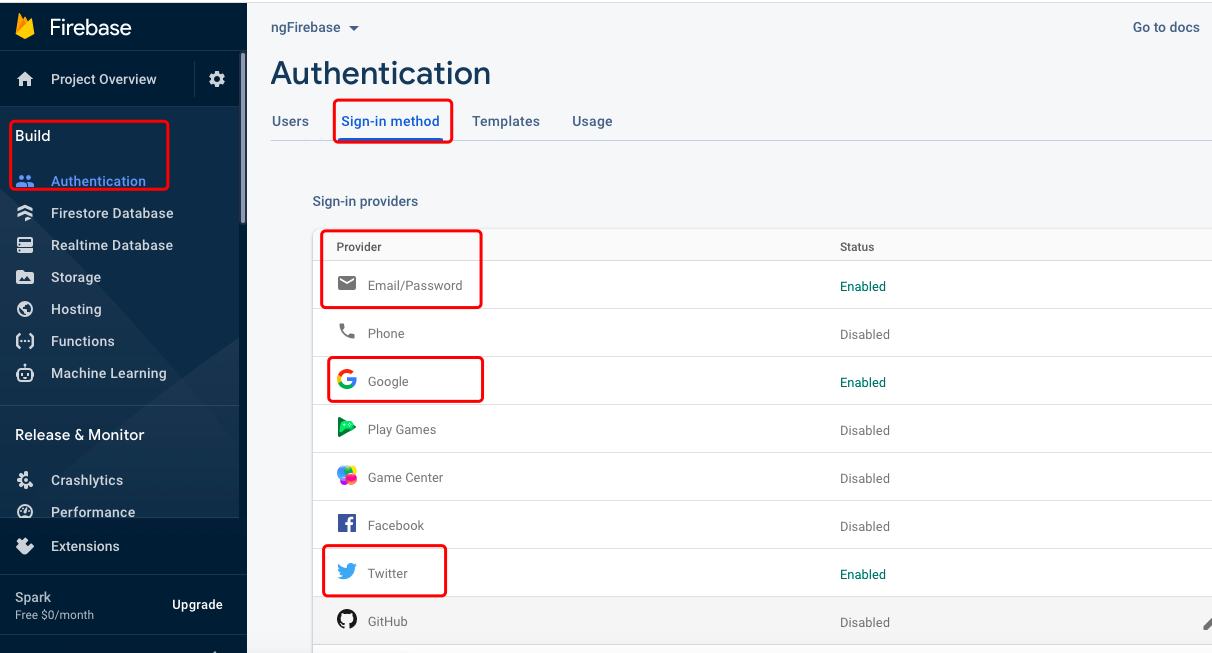
-
Create an authentication service in angular.
import { Injectable } from '@angular/core'; import { Router } from '@angular/router'; import { AngularFireAuth } from '@angular/fire/auth'; import * as firebase from 'firebase/app'; @Injectable({ providedIn: 'root', }) export class FirebaseAuthService { constructor(private afAuth: AngularFireAuth, private router: Router) {} // sign-in method: email + password login(email: string, password: string) { this.afAuth .signInWithEmailAndPassword(email, password) .then((value) => { console.log('Nice, it worked'); this.router.navigateByUrl('/home'); }) .catch((err) => { console.log('something went wrong: ', err); }); } // sign-in method: google googleLogin() { const provider = new firebase.auth.GoogleAuthProvider(); return this.oAuthLogin(provider).then((value) => { console.log('Success', value); this.router.navigateByUrl('/home'); }); } // sign-in method: twitter twitterLogin(){ const provider = new firebase.auth.TwitterAuthProvider(); return this.oAuthLogin(provider).then((value) => { console.log('Success', value); this.router.navigateByUrl('/home'); }); } logout() { this.afAuth.signOut().then(() => { this.router.navigate(['/']); }); } private oAuthLogin(provider: any) { return this.afAuth.signInWithPopup(provider); } } -
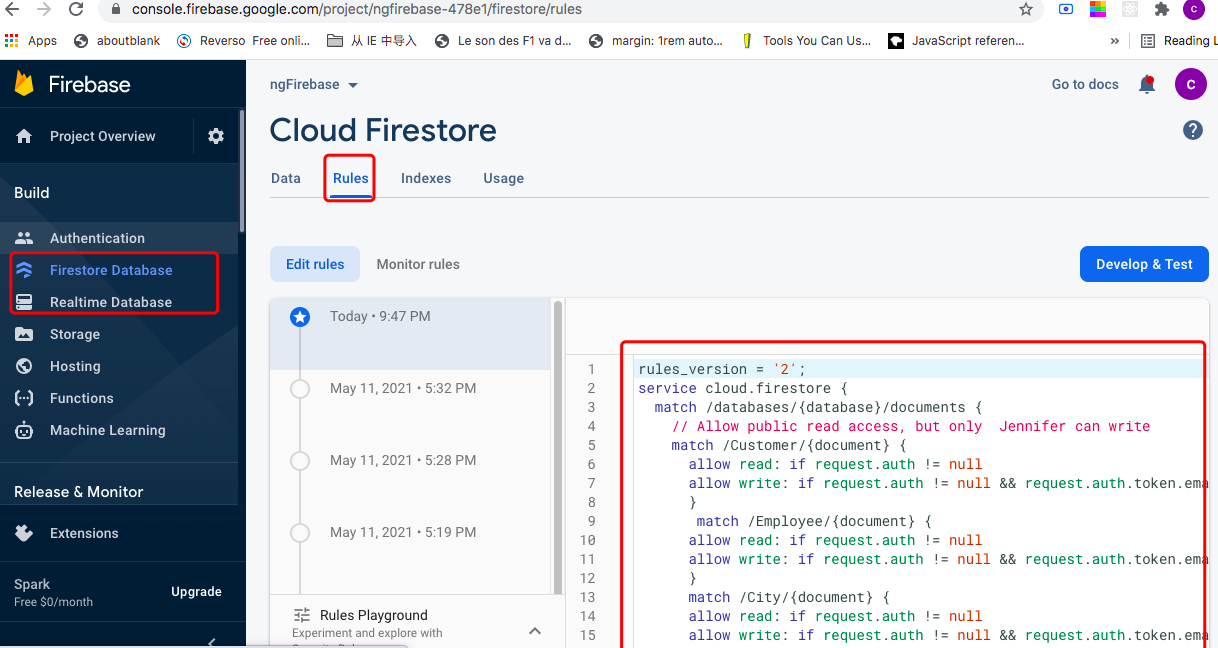
Config read and write rules in firebase console
 Add criteria in Angular as needed
//  Firebase.service.ts
 return this.fireService
      .collection('City', (ref) => ref.where('uid', '==', user.uid))
      .snapshotChanges()
      .pipe(
        map((snaps) =>
          snaps.map((snap: any) => {
            return {
              id: snap.payload.doc.id,
              ...(snap.payload.doc.data() as {}),
            };
          })
        ),
        first()
      );
  }