Released pipeline and CI/CD in azure
There are several ways to deploy an Angular Application to microsoft azure:
- The simplest one: through static web app and github actions
- through release pipeline and CI/CD( theme of this blog)
- others.
The main steps of deploying an Angular application by released pipeline and CI/CD in Microsoft azure are listed as follows
- Create an account in azure. Log in.This is the portal page.
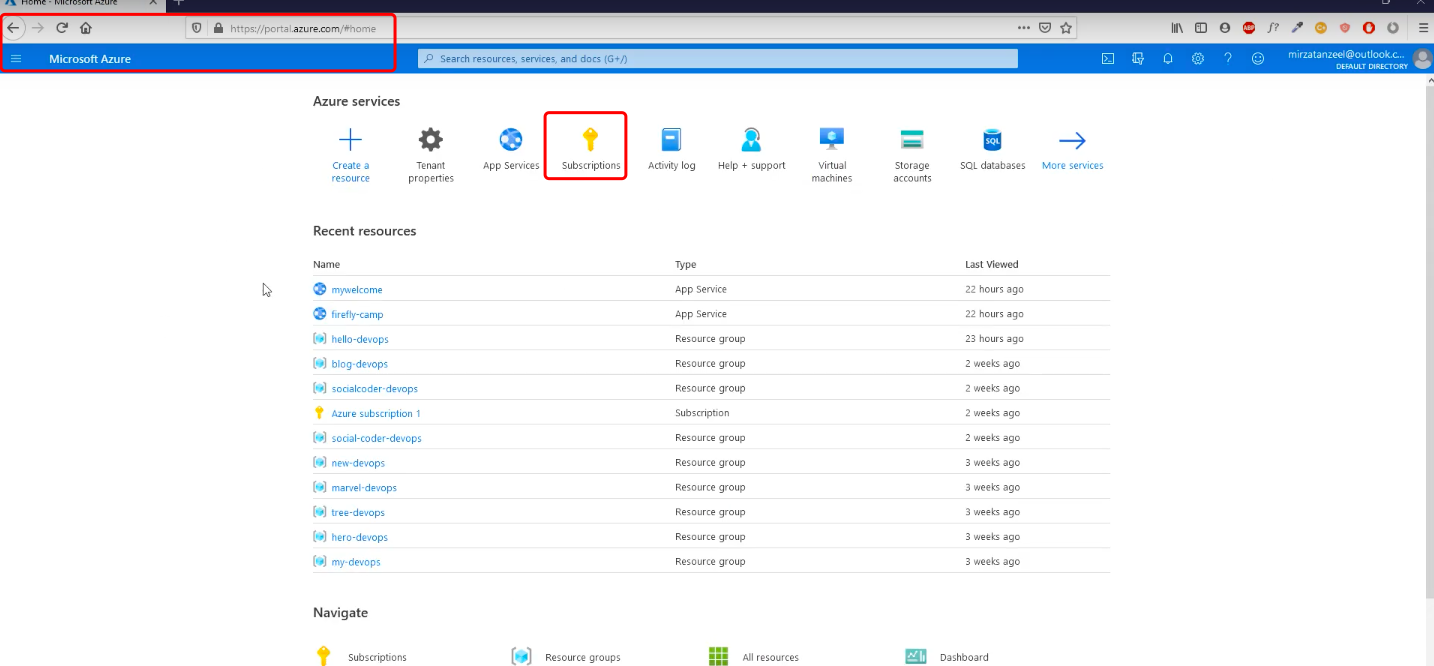
- Confirm if at least one subscription is active. Attention to the cost of subscriptions. Not all services
are forever free of charge.

- Create web service based on active subscription.Please note the service URL.
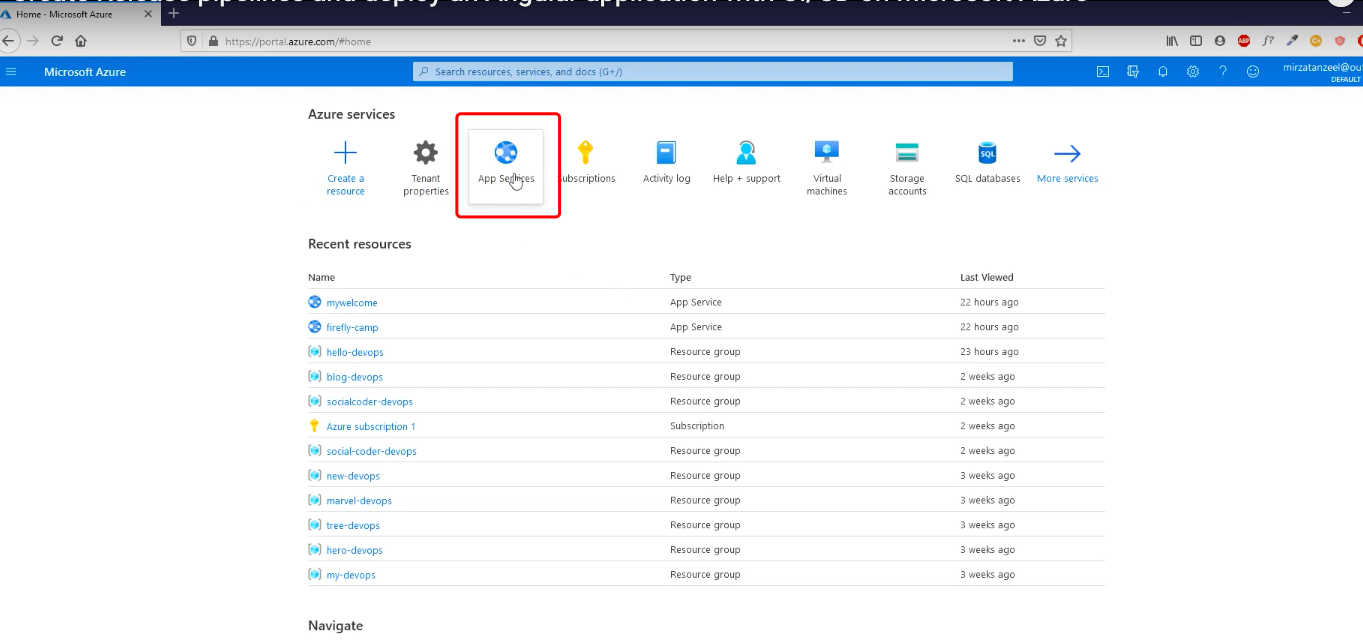
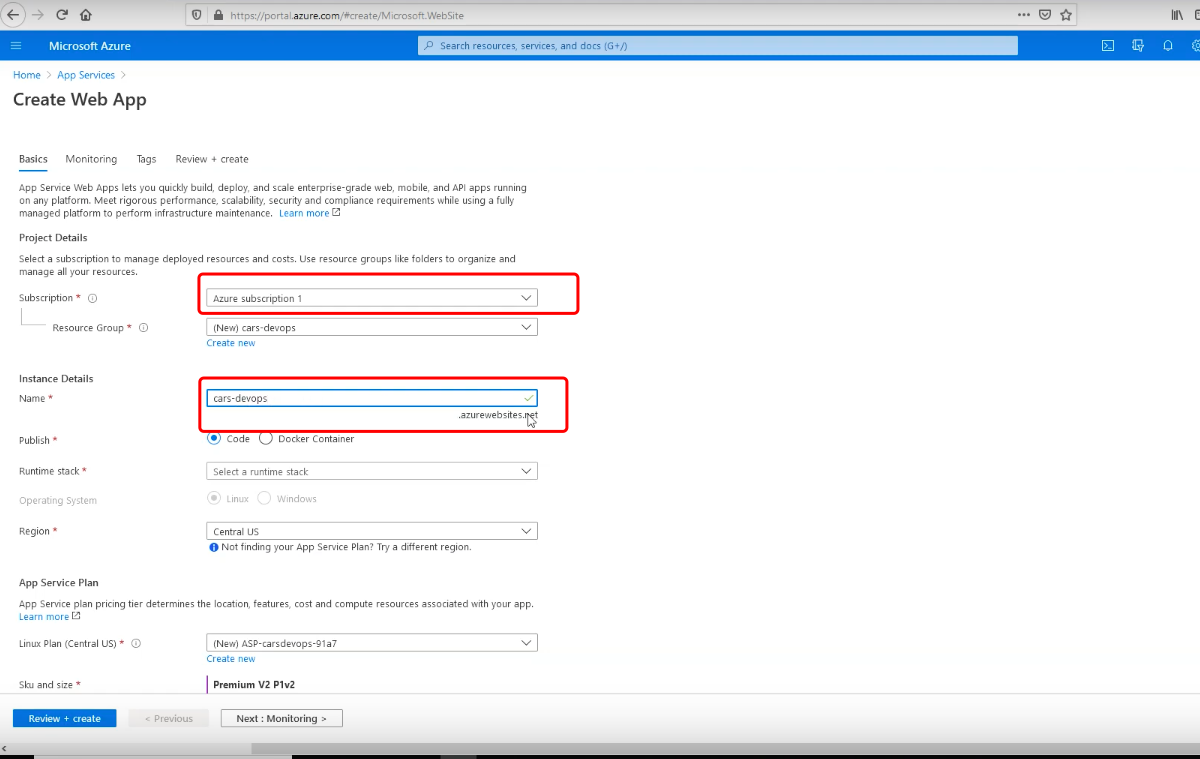
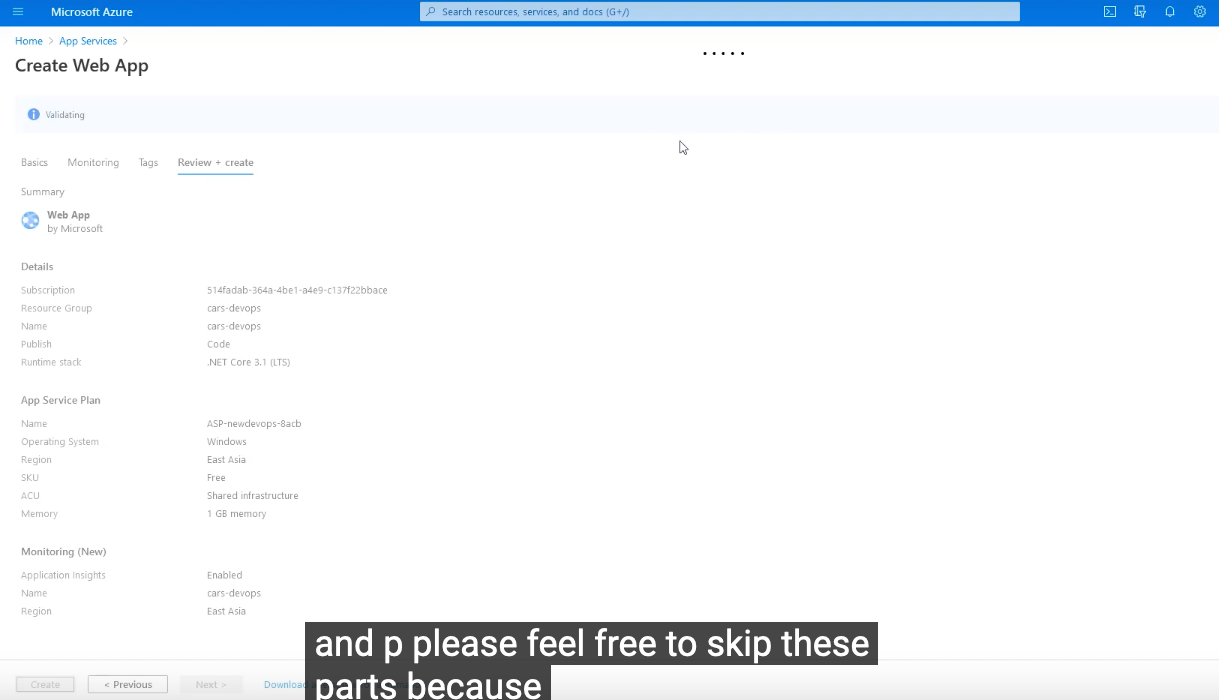
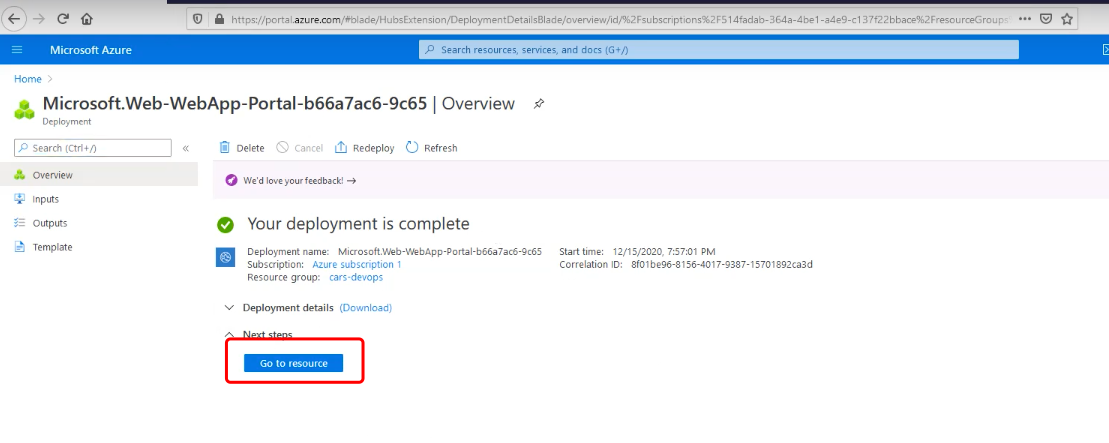
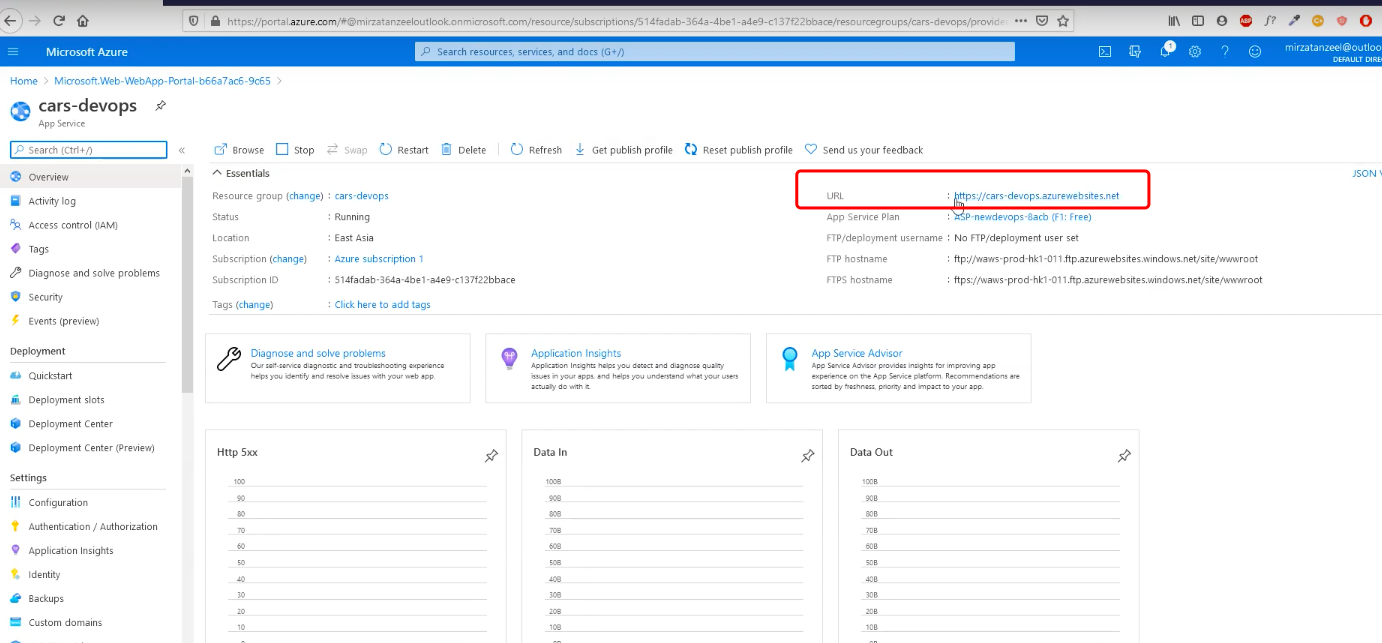
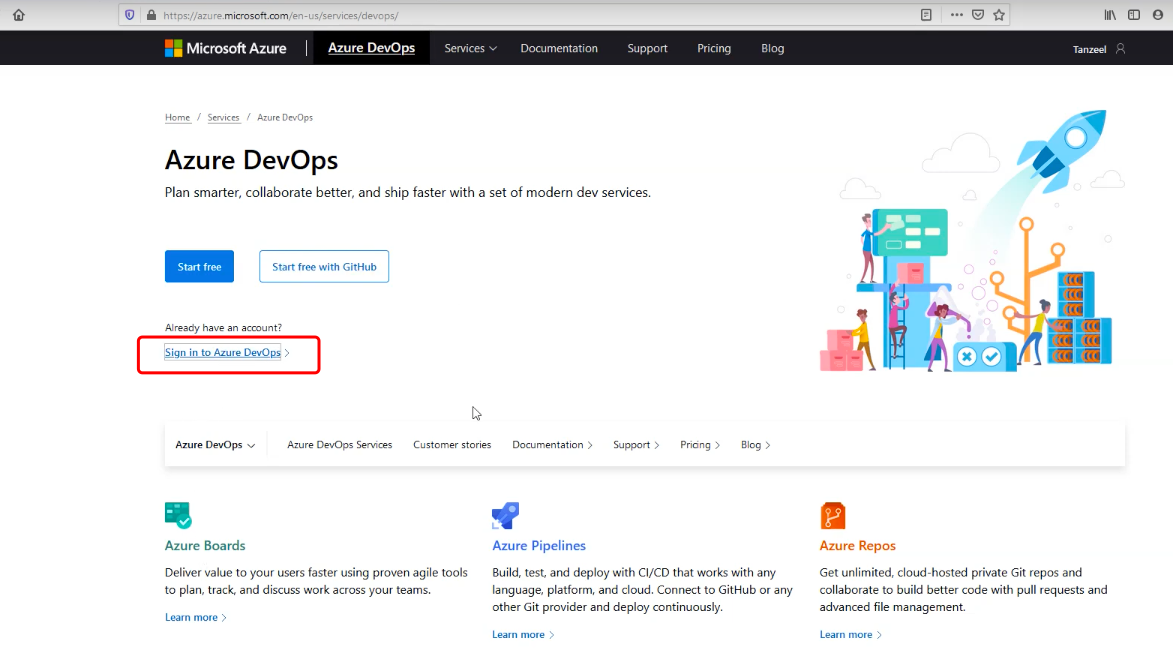
- Deploy your code now. Enter dev.azure.com in browser address bar and so sign into azure devops.If
no organization,create one. If no project, create one.
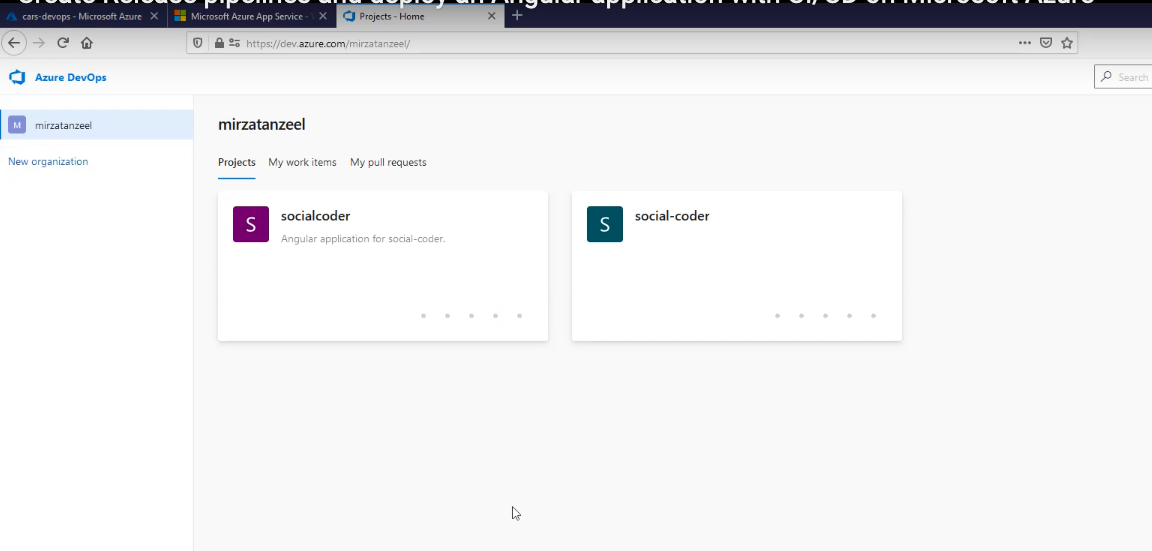
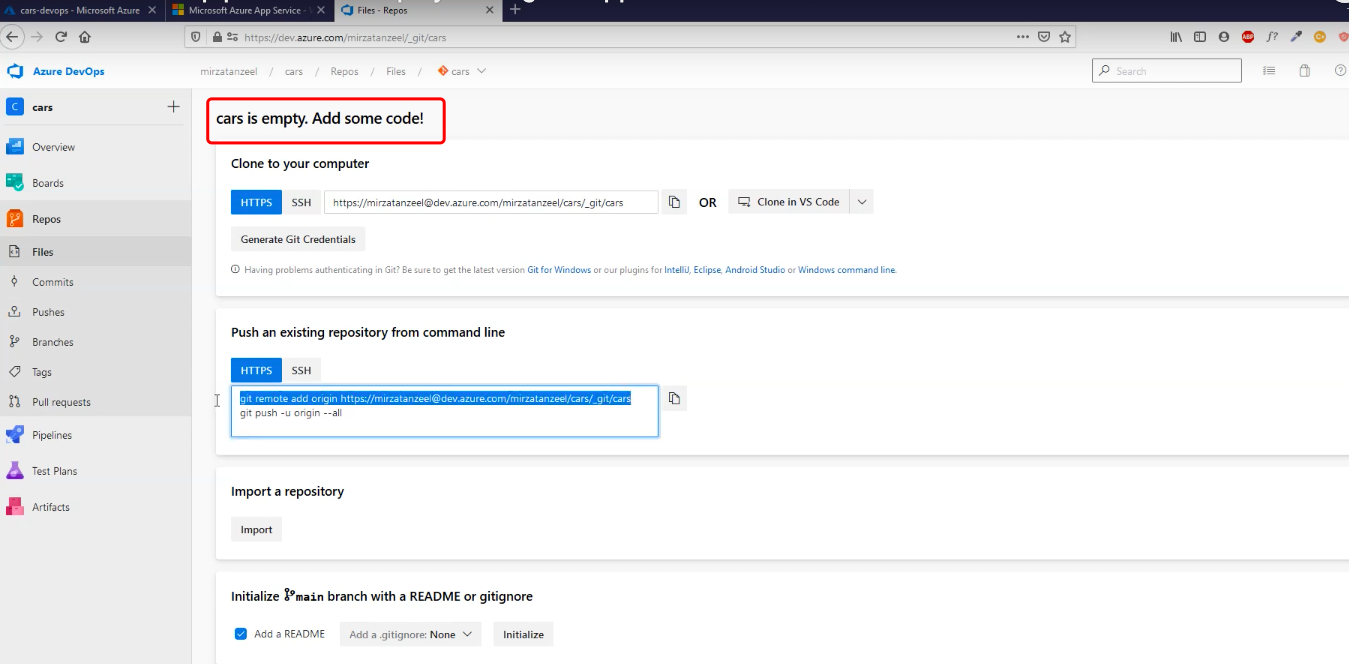
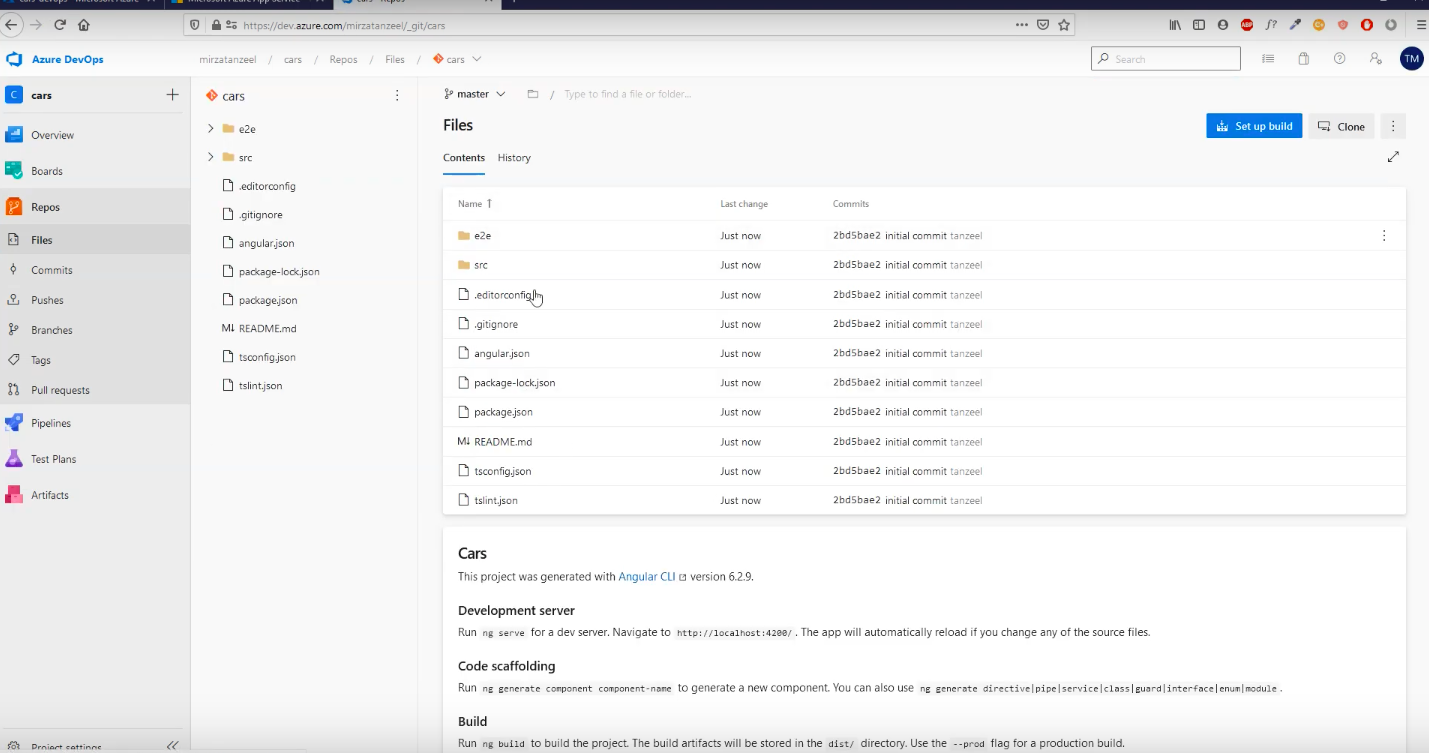
- Push code to azure.
 Refresh the page.
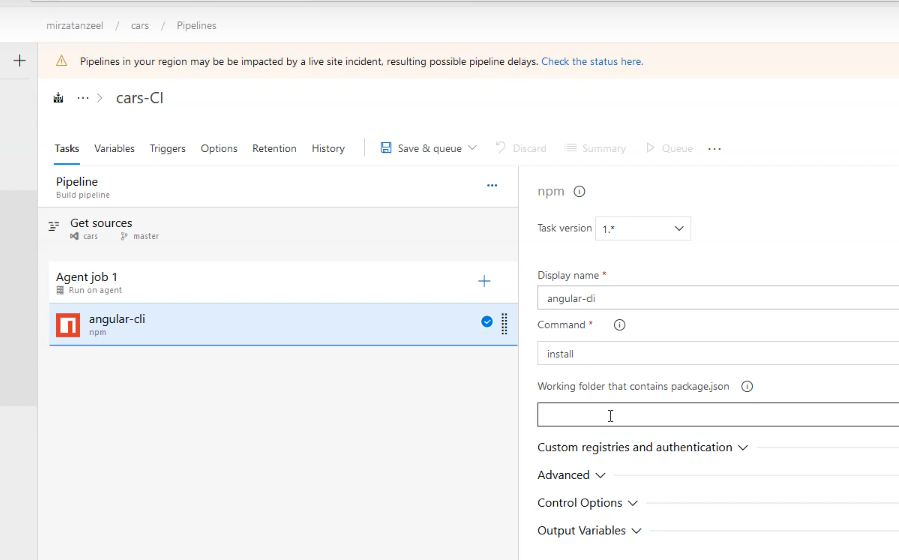
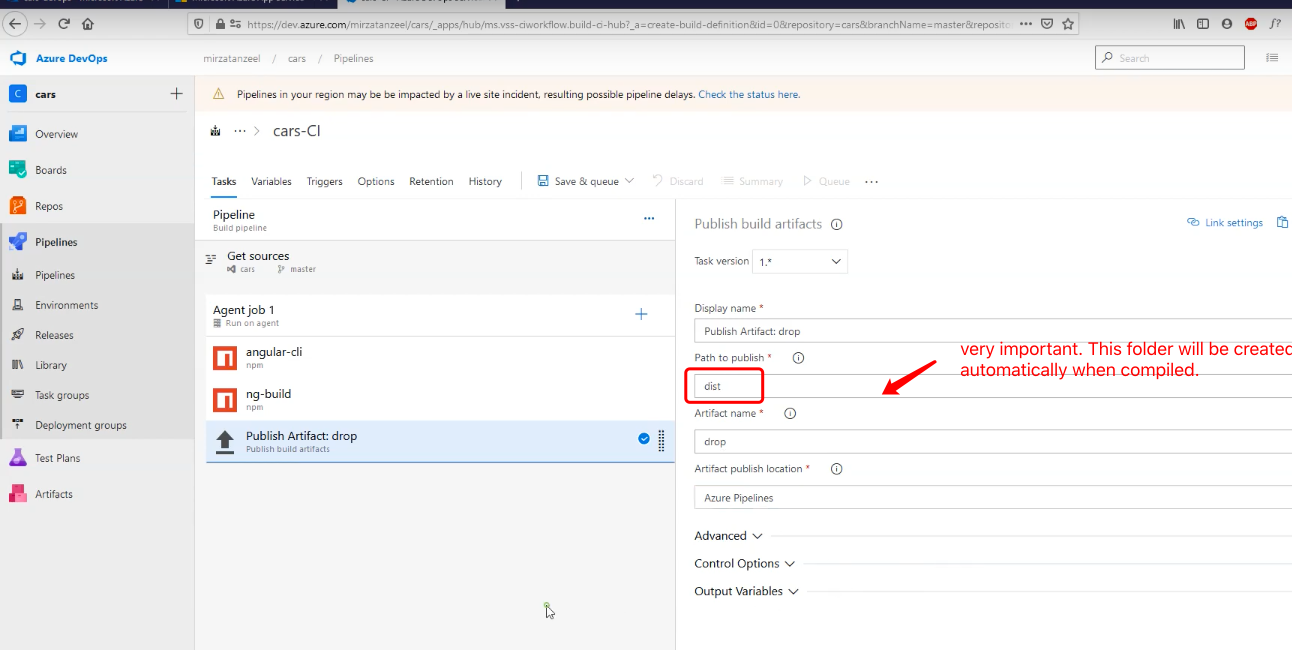
- Create pipeline: There are templates but in this example, we use empty job to assign our own tasks.Task
name should
reflect the object of task.
Firstly, we should install angular-cli.
 Secondly, we should build the app.
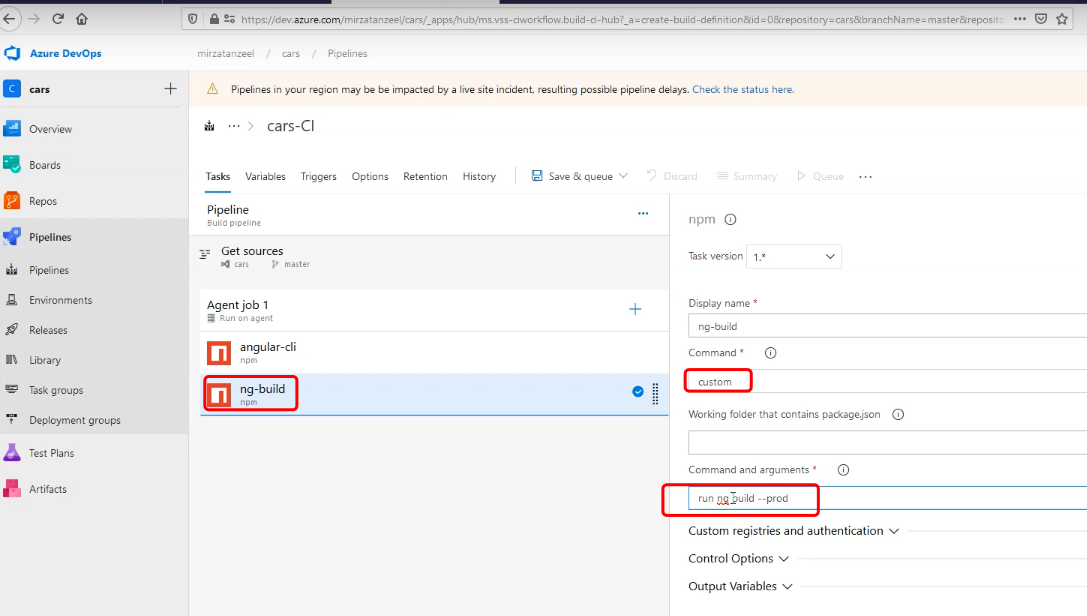 Third task, we should set the path as 'dist'. THe path name should be right.
- click 'save and queue'. Then click 'save and run' button of pop-up form on right side of screen
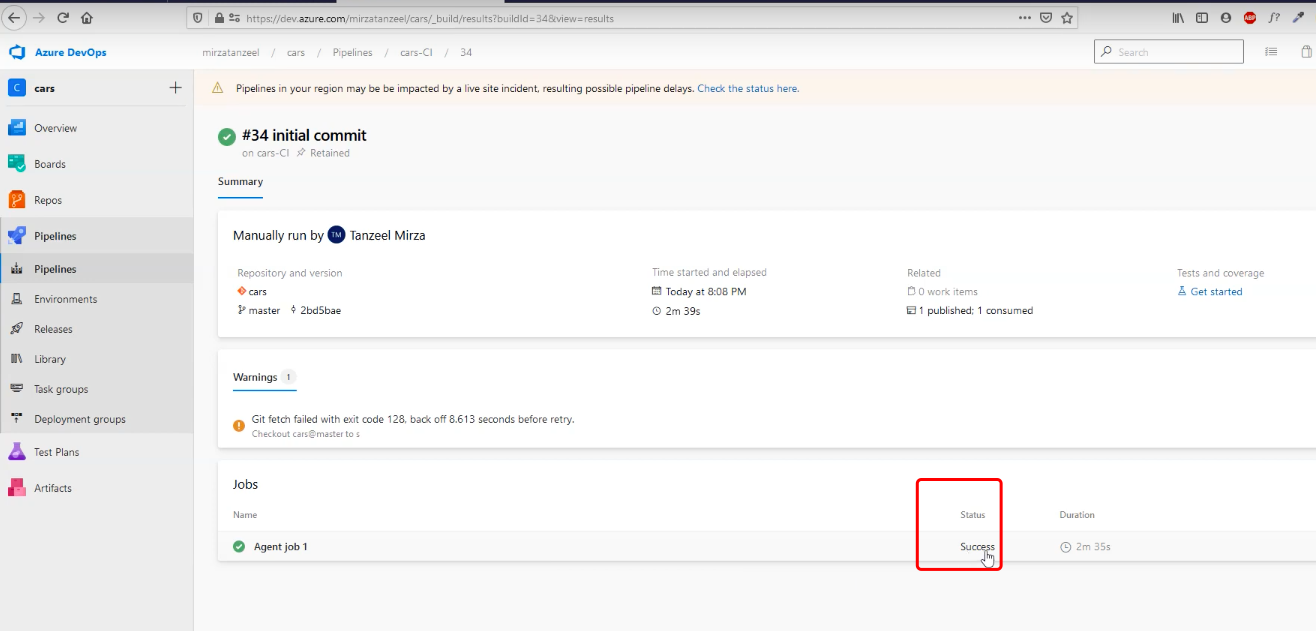
- Task is executed one by one. The status of agent job is 'success'.
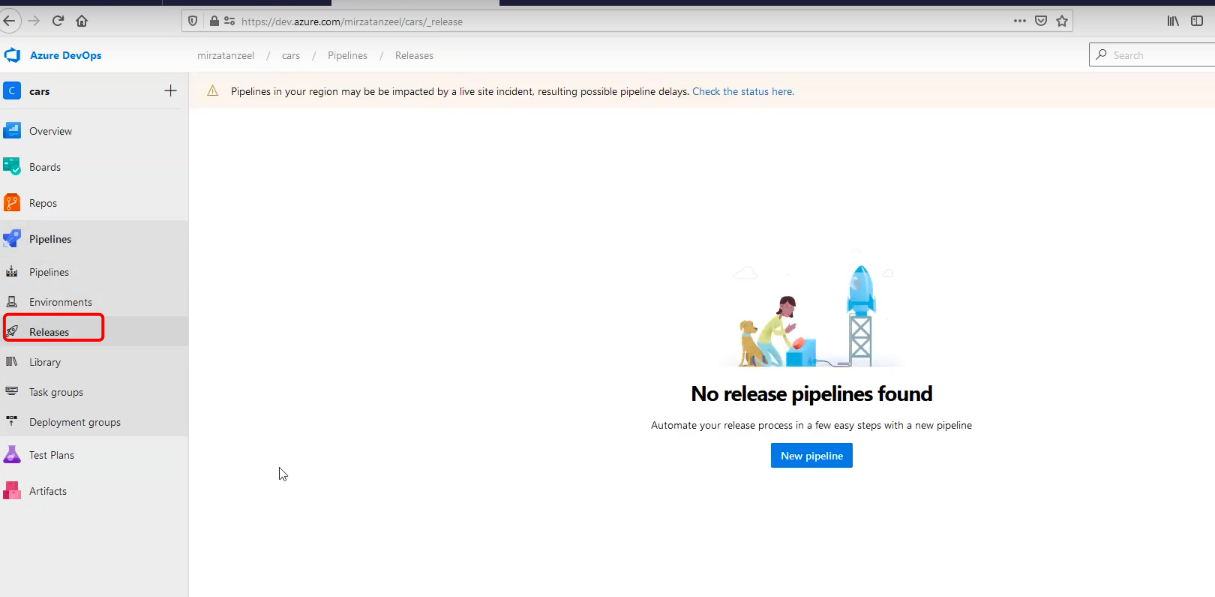
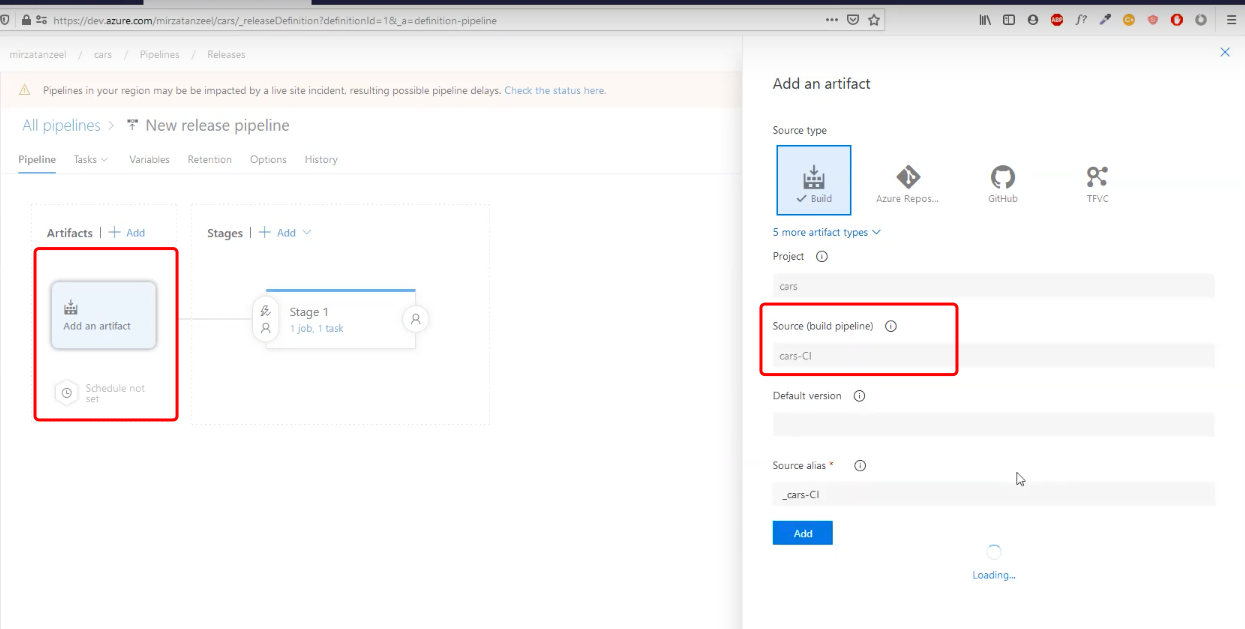
- we have pipelines but no released pipelines. Need add a released pipeline
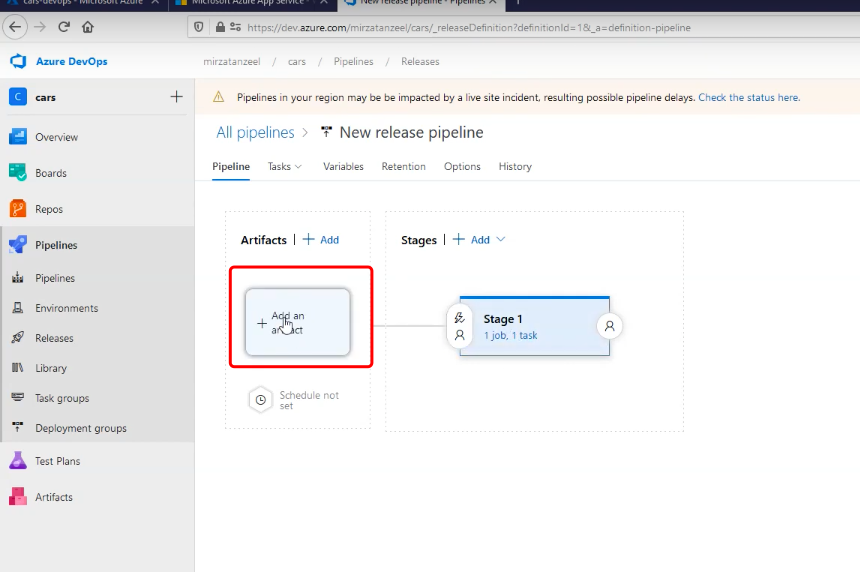
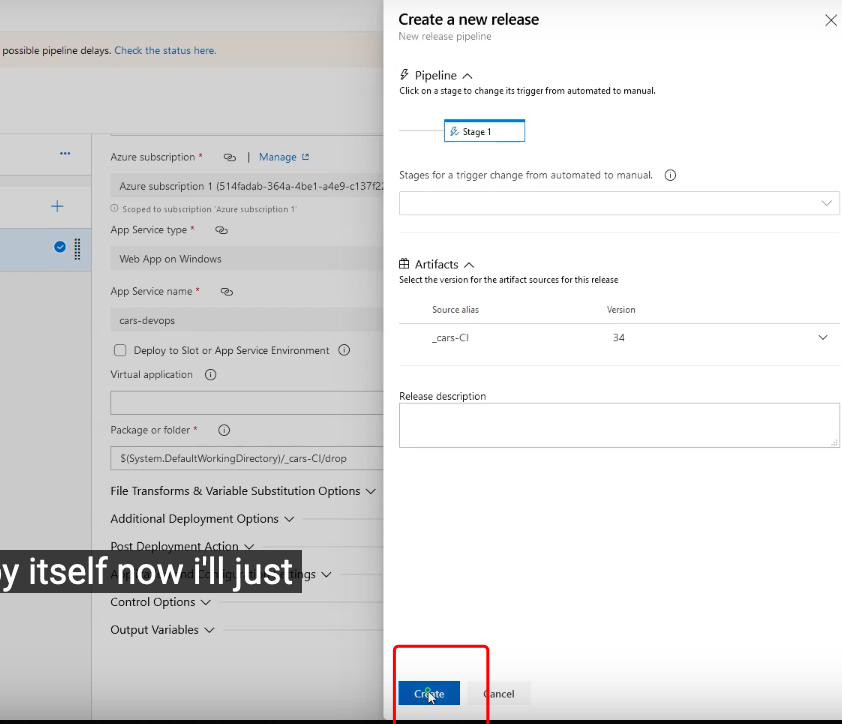
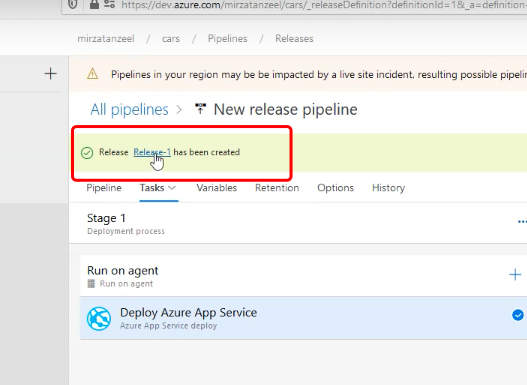
 Add an artifact. click "save" then "create release"
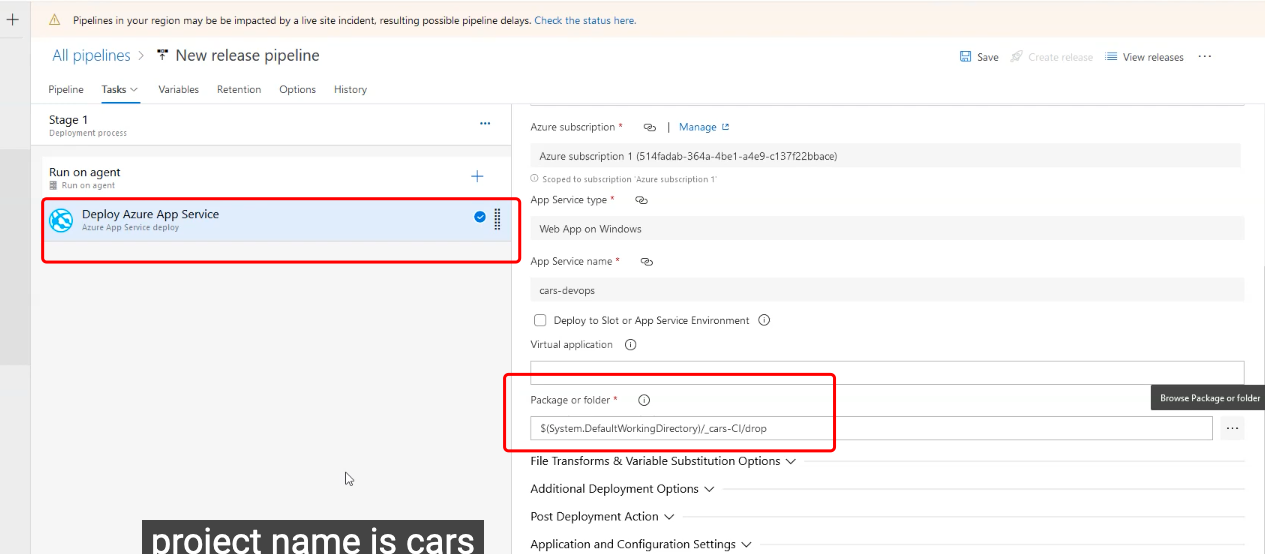
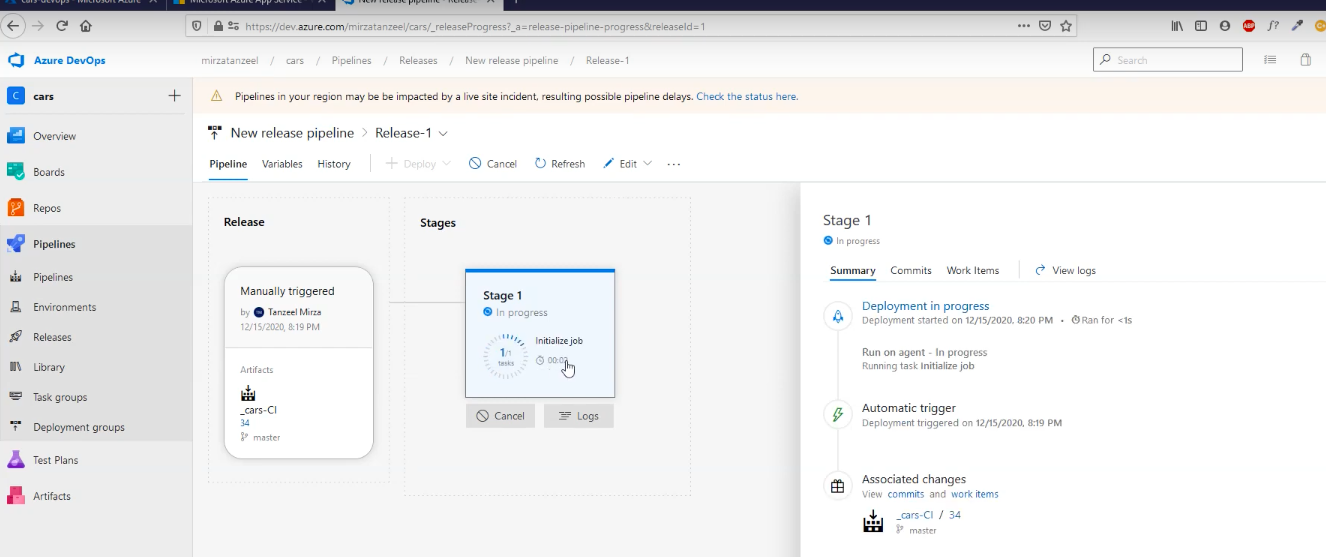
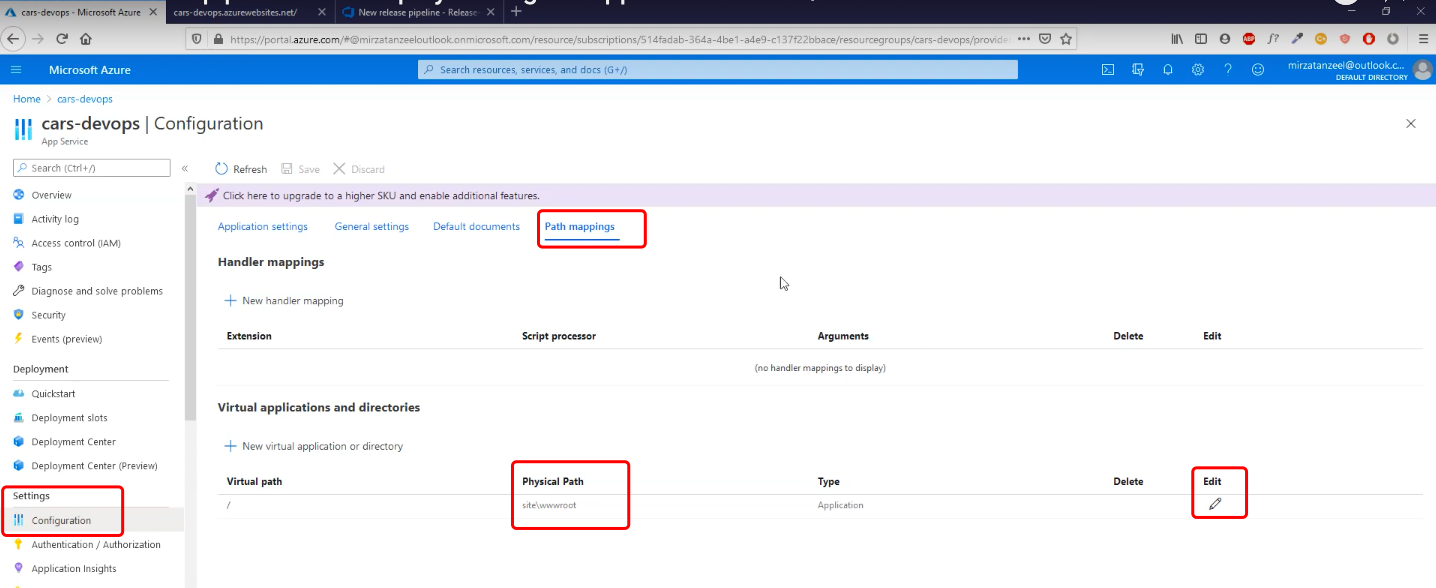
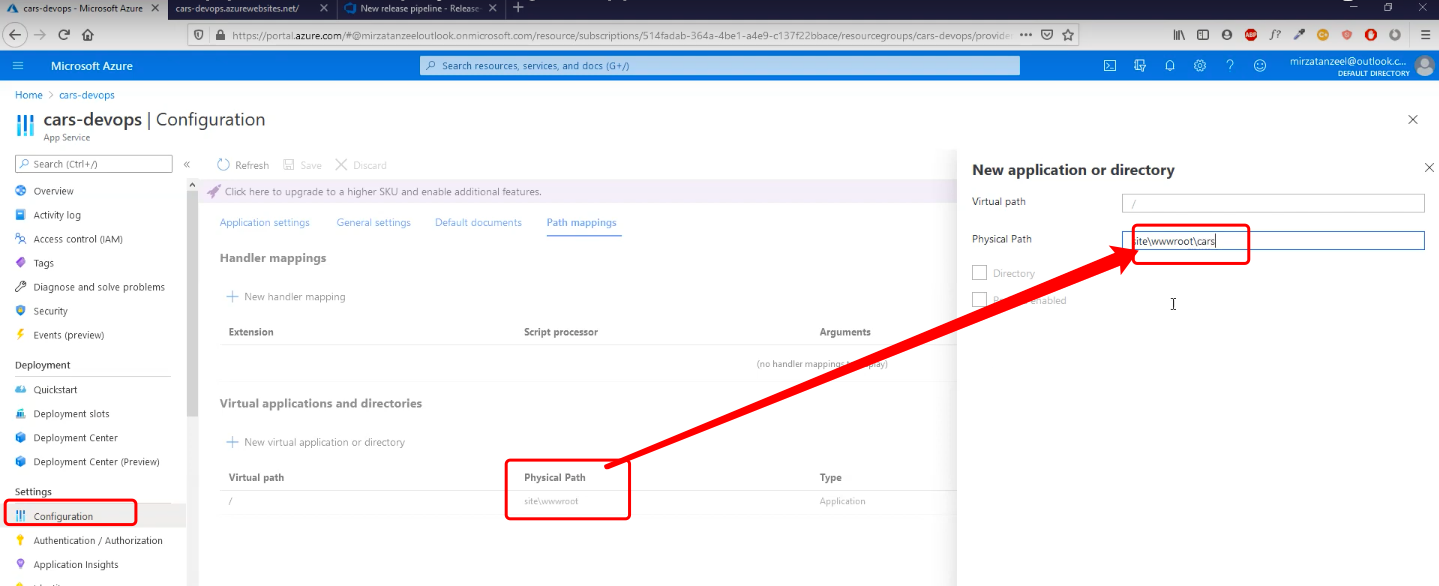
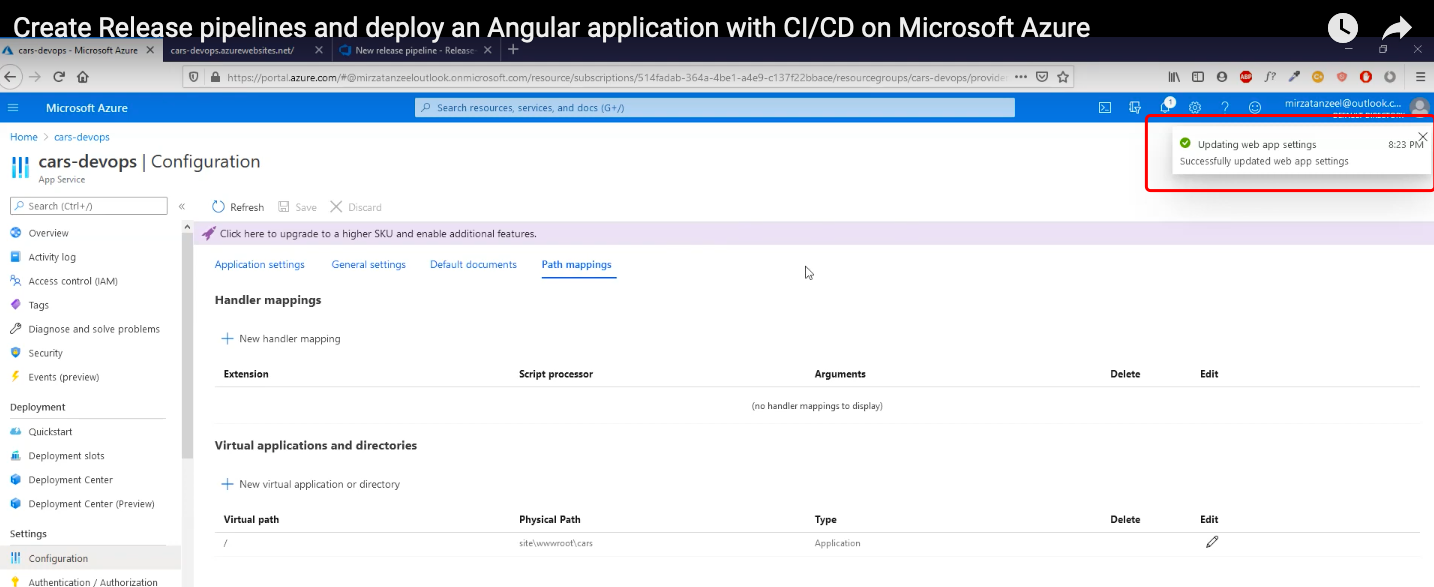
- Change physical path if encounter the error "no permission".


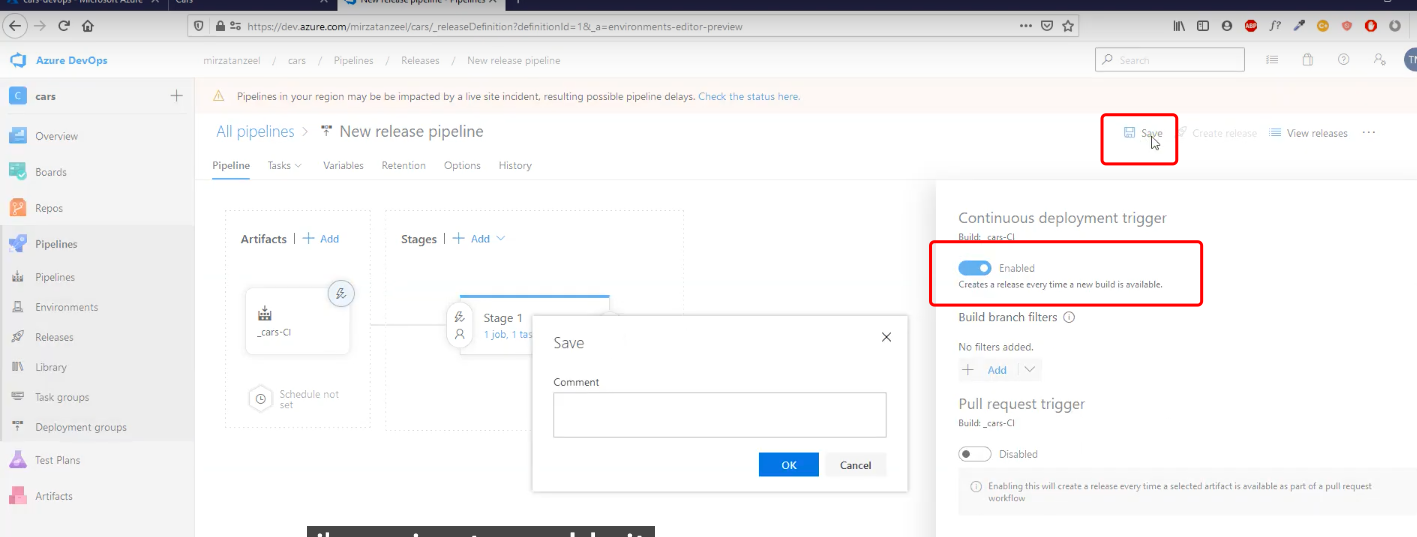
- Change a released pipeline to CI/CD. So every time new code is pushed into Azure repo, the pipeline
releasing will be triggered and executed automatically.
Edit an existing pipeline and check "continuous integration " box and click "save"
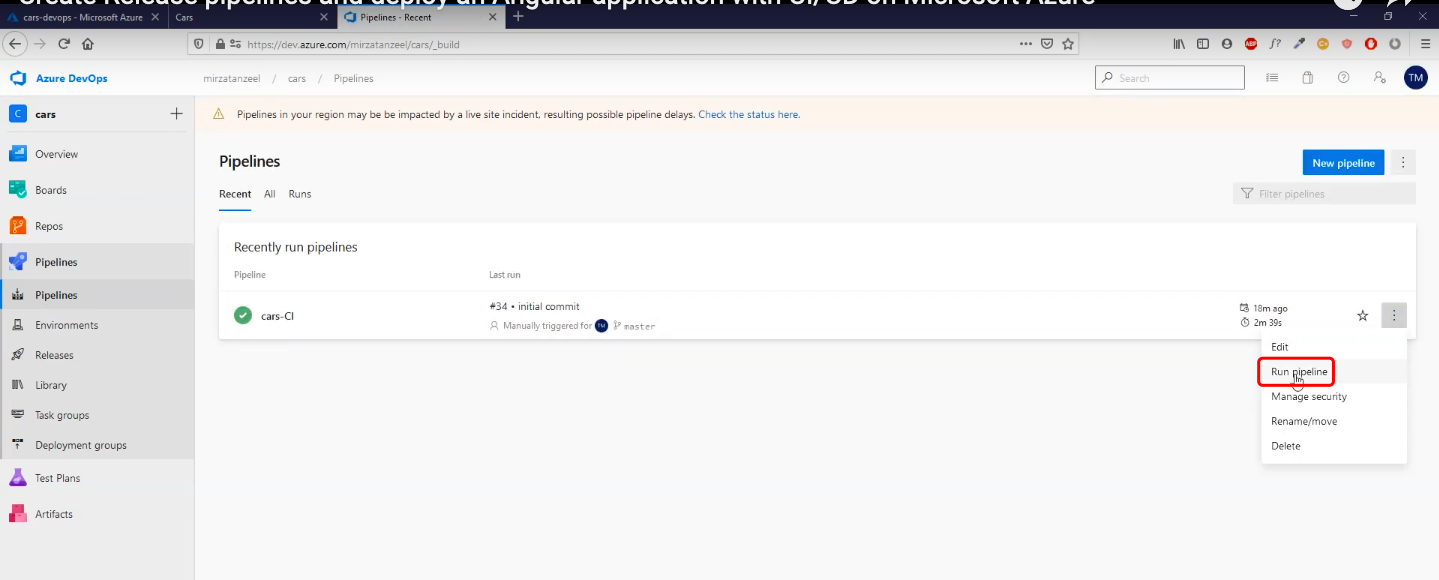
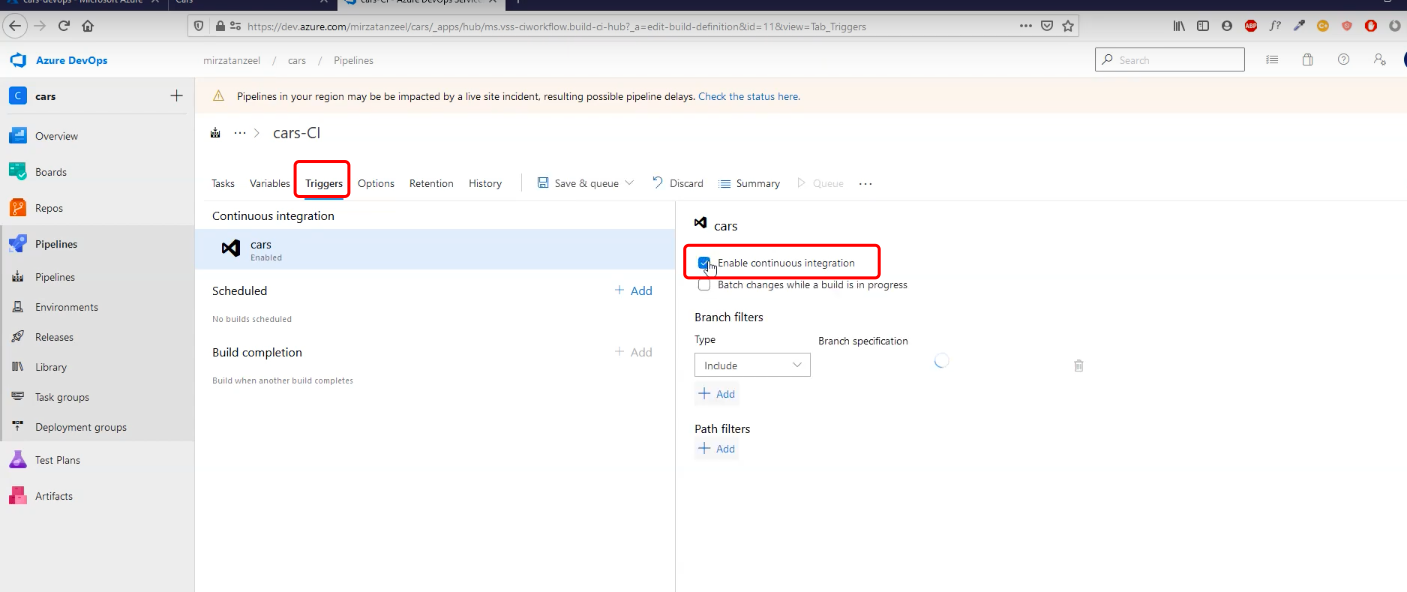
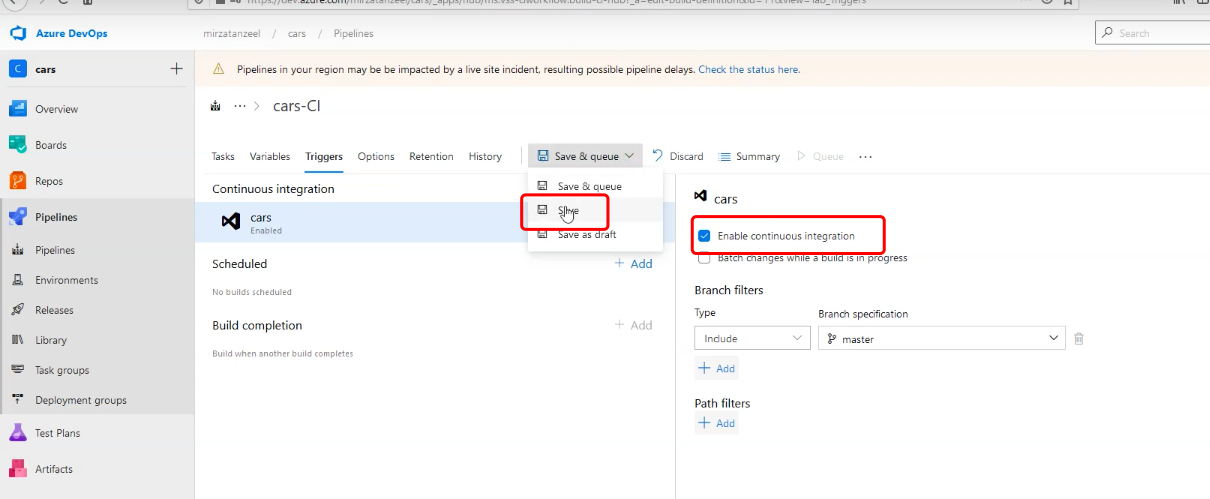 click "trigger" and save.
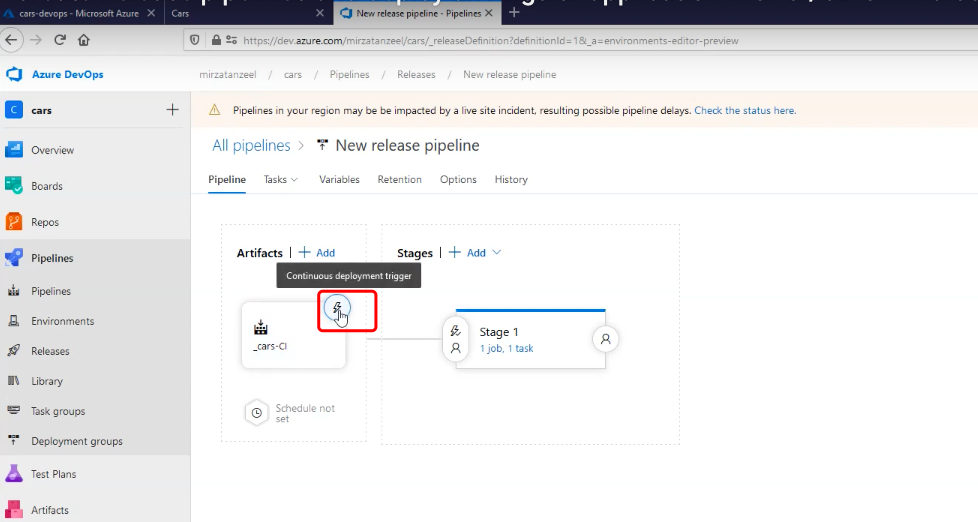
https://www.youtube.com/watch?v=Y51q5K44EZM. Create Release pipelines and deploy an Angular application with CI/CD on Microsoft Azure